Kubernetes Prerequisites
Please follow all of the steps in the Getting Started section before deploying to Kubernetes. This section makes assumptions you've done those steps, which include extra setup.
The prerequisites you installed when you got started were to be able to run Redwood without Kubernetes, but to be able to deploy to a Kubernetes cluster you need to install a few more things. Deploying to Kubernetes is required for deploying to the cloud, but it's also useful for testing locally before deploying to the cloud.
- Compile Unreal from Source
- Pulumi Infrastructure as Code (IaC)
- Windows Subsystem for Linux (WSL)
- Rancher Desktop
Node.js
This was moved into the Getting Started section.
Compile Unreal from Source
The version of Unreal Engine that you download from the Epic Games Launcher doesn't include the Server target used to packaged dedicated servers, which is necessary for deploying to Kubernetes or using Hathora in development.
Unreal has a great guide on building Unreal from source for each OS.
Pulumi
There are multiple frameworks to define IaC; we use Pulumi which is built on top of the popular framework Terraform. Pulumi allows us to write the IaC as Node.js/TypeScript instead of having to learn the declarative scripting language Terraform uses.
Pulumi also has a backend service (Pulumi Cloud) that keeps track of the versions that are deployed to determine the iterative changes that are necessary when trying to deploy. Having this as a service is very helpful if you need multiple people to be able to deploy. pulumi.com provides managed hosting for Pulumi Cloud with a fairly comprehensive free tier, but you can also self-host.
You can opt out of Pulumi Cloud completely by using pulumi login --local. You'll still need to install the Pulumi CLI, but the Pulumi state is stored locally on your machine and is not synced anywhere. The "Pulumi Organization Name" that's mentioned in these docs will need to be organization when using the local state provider.
You can also use object storage backends for your state.
These are viable options for getting started quickly, but there are many reasons to use Pulumi Cloud. Our docs assume you're using self-hosted or Pulumi-hosted Pulumi Cloud.
- Install the Pulumi CLI
- Create a Pulumi Cloud account
note
We recommend using Pulumi's free SaaS offering to start with; you can choose to self-host after you've familiarized yourself more with Redwood and Pulumi.
- Create or join an Organization on Pulumi
WSL
This is only required for deploying to a local Kubernetes cluster on a Windows machine. We recommend testing locally before deploying to the cloud, but this step could be skipped if you're only deploying to the cloud.
WSL, or Windows Subsystem for Linux, is an extra runtime that will run Linux simultaneously in the background as you run Windows. We use this to be able to replicate the production environment for the backend closely, and it makes development much simpler.
Please follow the official Microsoft guide on how to install WSL. The Linux distribution you install doesn't matter; we use the default (Ubuntu).
Rancher Desktop
This is only required for deploying to a local Kubernetes cluster on a Windows machine. We recommend testing locally before deploying to the cloud, but this step could be skipped if you're only deploying to the cloud.
If you already have the official Rancher Desktop installed, you will need to properly uninstall it and install the Redwood version following the steps in this section. Redwood versions have (Redwood) in the title and the version numbers.
How to check if you have the Redwood version
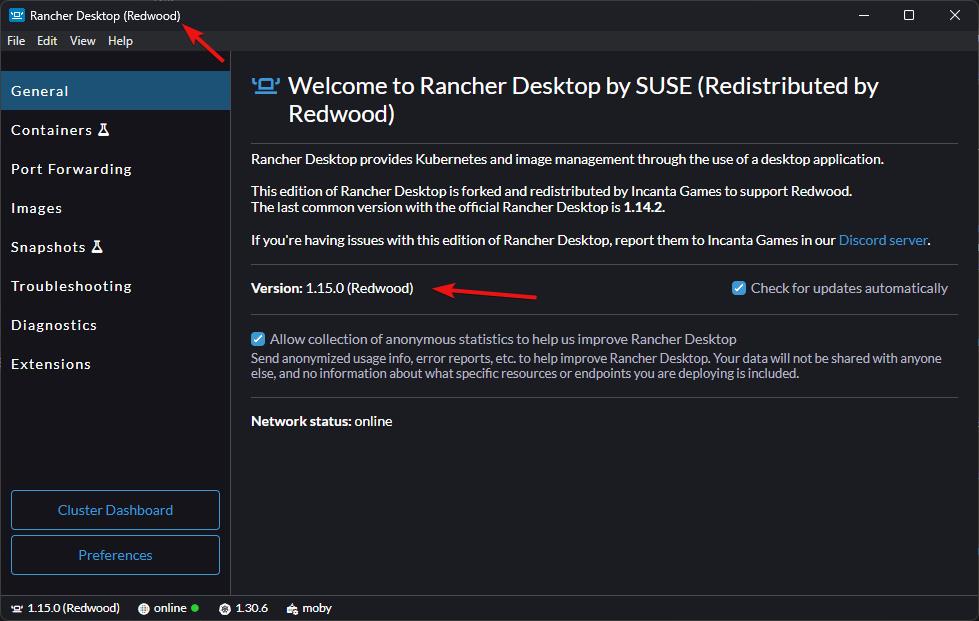
Rancher Desktop (not to be confused by Rancher), is an easy to use tool that provides Docker and Kubernetes to the WSL environment. We use Docker to create containers of each backend service, which we then run in a Kubernetes cluster. It's okay if these terms are confusing; by design, Redwood handles getting things running in these more complicated environments so you can learn the subjects later if/when it's needed. Simply put, Rancher Desktop helps us replicate a scalable server environment for the backend.
- If you need to uninstall a prior version of Rancher Desktop, follow these steps
- Find the latest Redwood edition installer for Rancher Desktop at https://github.com/redwoodmmo/rancher-desktop/releases/latest.
- Running Rancher Desktop for the first time will ask what version of Kubernetes and the Container Engine you want. We usually use the latest
(stable)version anddockerd (moby)respectively.
Rancher Desktop doesn't start automatically with Windows unless you enable Automatically start at login in the Preferences, so you may have to run it manually after a reboot.