Running with the Backend
Launching the Backend
- Standard License
- Custom License
Open a terminal and navigate to the RedwoodBackend directory. Run the below command after replacing <your-config-env> with the name of the config folder you created earlier:
./dev-initiator-win <your-config-env>
The specific syntax of whether you include the ./ or not may be dependent on your terminal.
macOS and Linux users can use dev-initiator-mac and dev-initiator-lin instead, respectively.
You can run the Dev Initiator with running the below command in the RedwoodBackend directory:
yarn dev <config-environment>
For example: yarn dev project-name.
Several logs will print to the console as the backend initializes; wait until you see All services ready.
Running the Game
- Match Template
- RPG Template
- Blank Template
It's time to start the game, connect to the backend, and join a match!
-
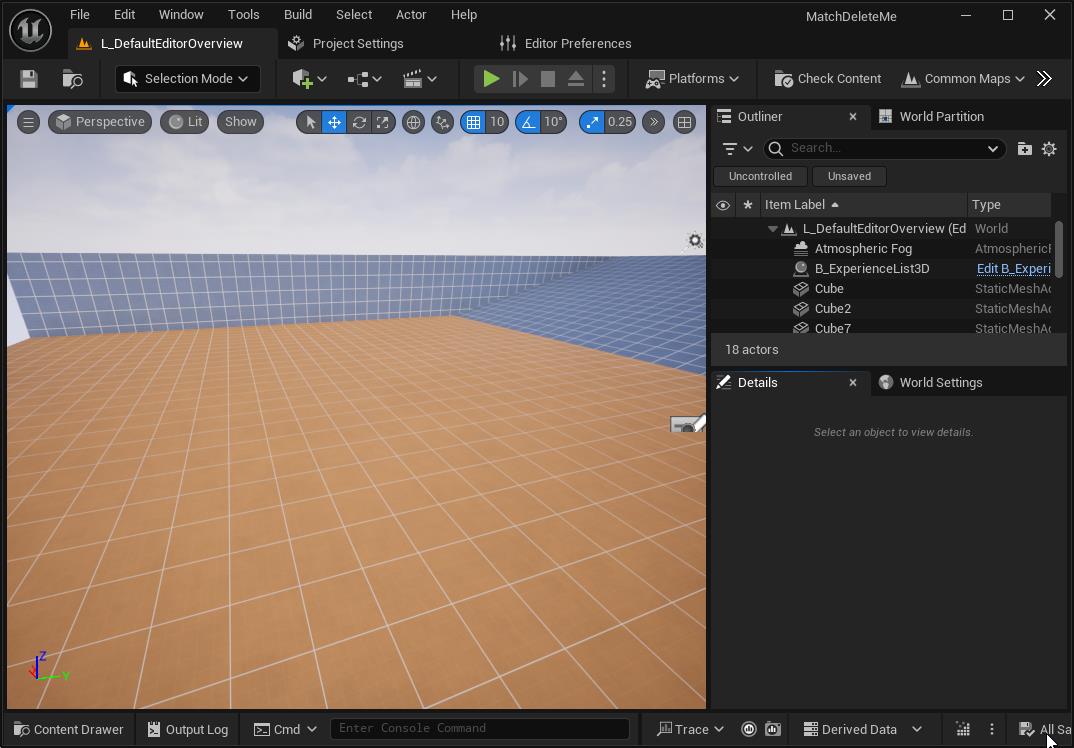
Once the project is created and shaders are compiled, you will see the default Lyra level selected:
-
Open the Content Browser and open the level
/Content/Redwood/Frontend/L_RW_LyraFrontEnd: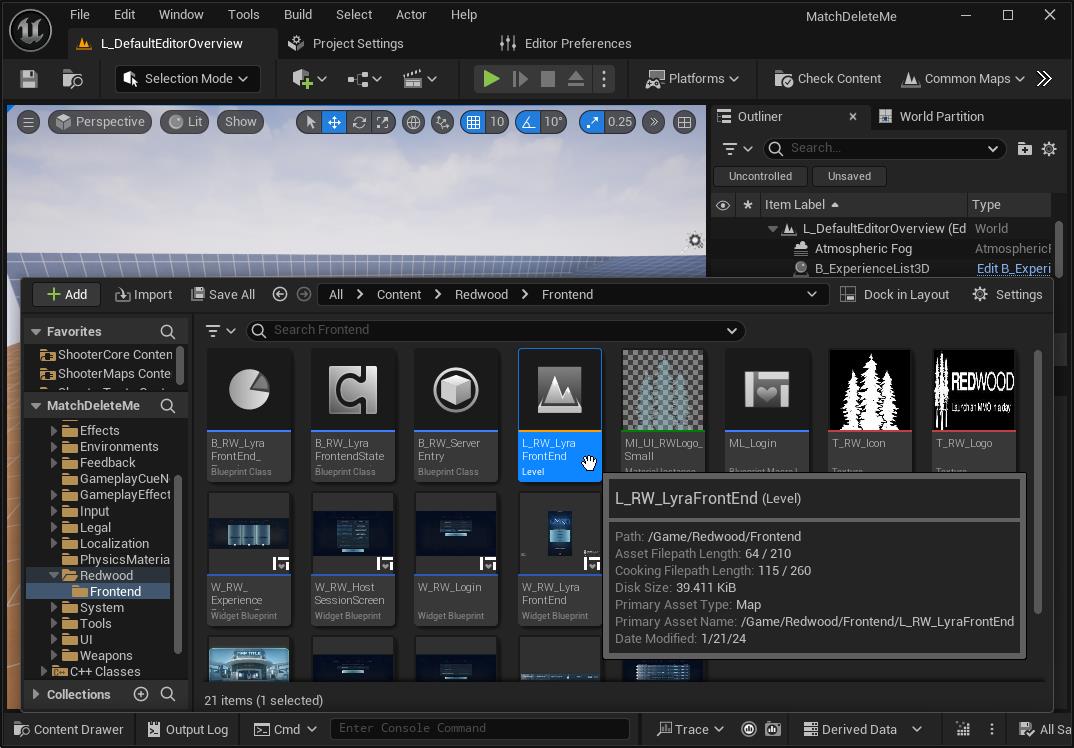
-
Make sure you've selected
Play Standaloneunder the PIE Net Mode (it's the default) and are still in theL_RW_LyraFrontEndlevel: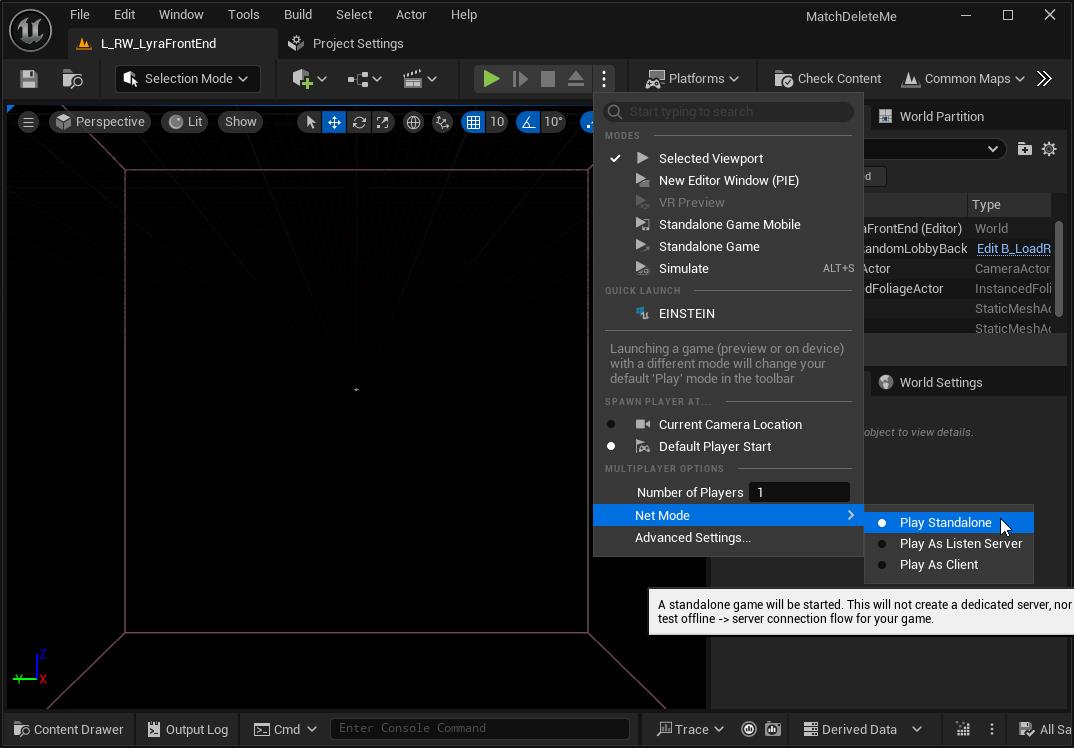
-
Press the green play button:
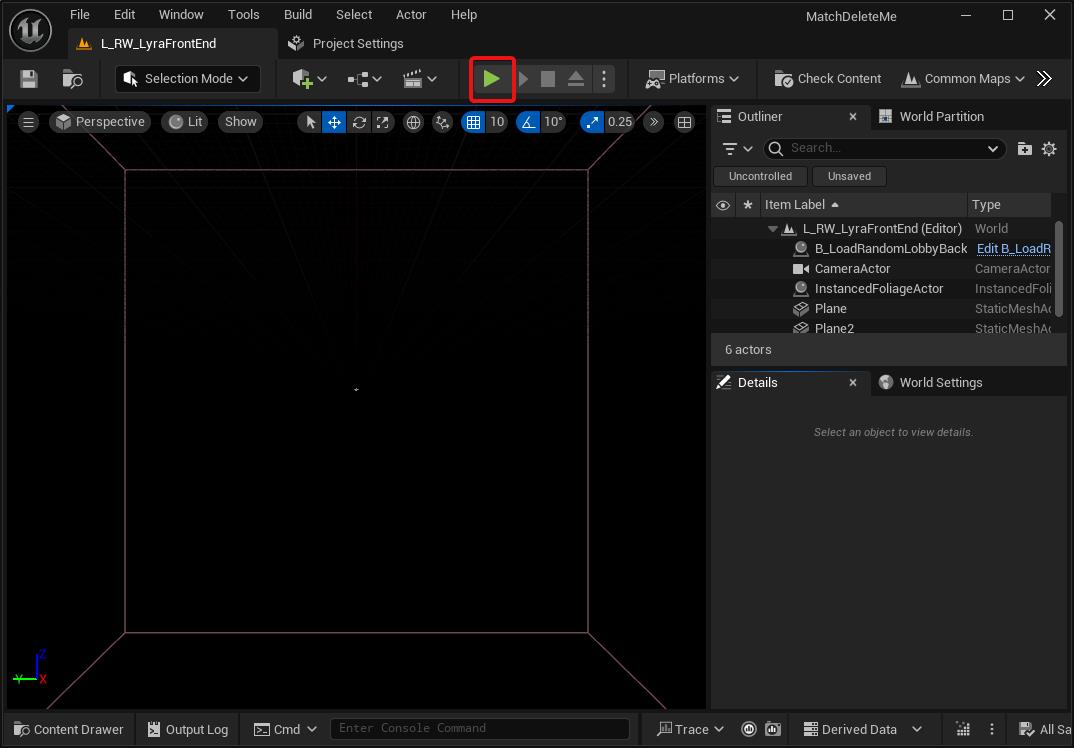
-
You should see the Lyra frontend widget with the
LOGIN/REGISTERbuttons enabled: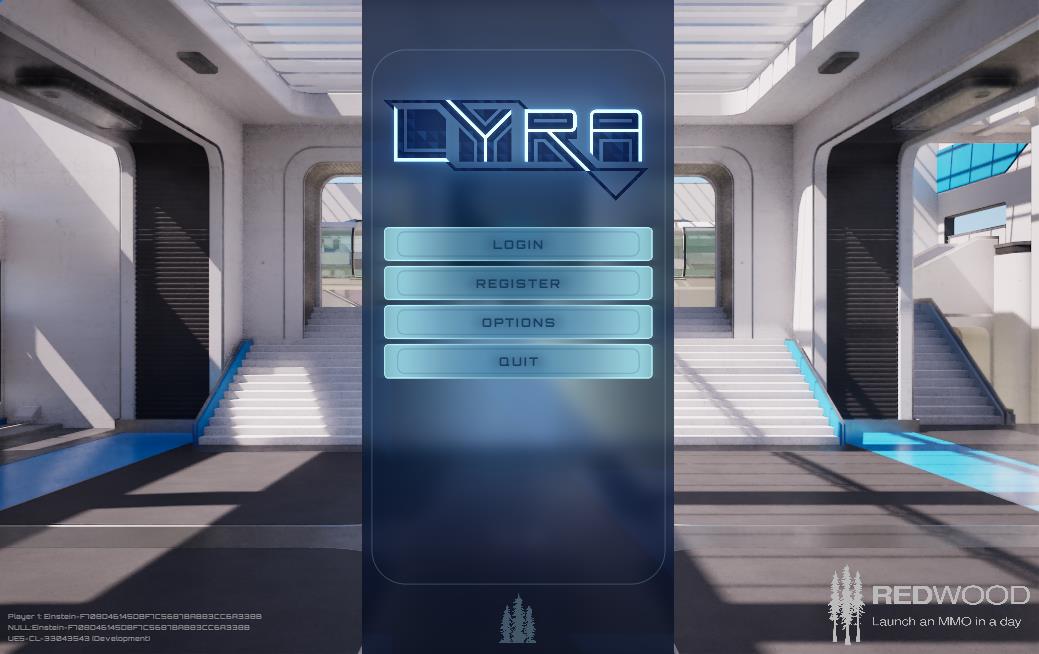 warning
If you see these buttons greyed out/disabled and a label saying
Connecting to backend..., there are some a few common issues:- You have another application bound to the port
3001 - You did not configure your
hostsfile properly to includedirector.localhost - You started PIE before the Dev Initiator hasn't finished initializing. The connection retry logic will get exponentially slower after each retry, so you may need to restart PIE
- You have another application bound to the port
-
Register to create an account; any username/password works here. We use
testandtestfor quick iteration. -
Login using the same username/password. The
Remember Mefunctionality is part of the Redwood plugin. It will save aRedwoodSaveGame.savfile in theSaveGamesfolder with an authentication token to automatically login when the game starts the next time.warningIf you were able to register but the login process seems to hang for more than 5 seconds, you're likely having issues connecting to the Realm Frontend service. The common issues for that are similar:
- You have another application bound to the port
3011 - You did not configure your
hostsfile properly to includerealm-default.localhost
- You have another application bound to the port
-
You should be able to see a
PLAYbutton now: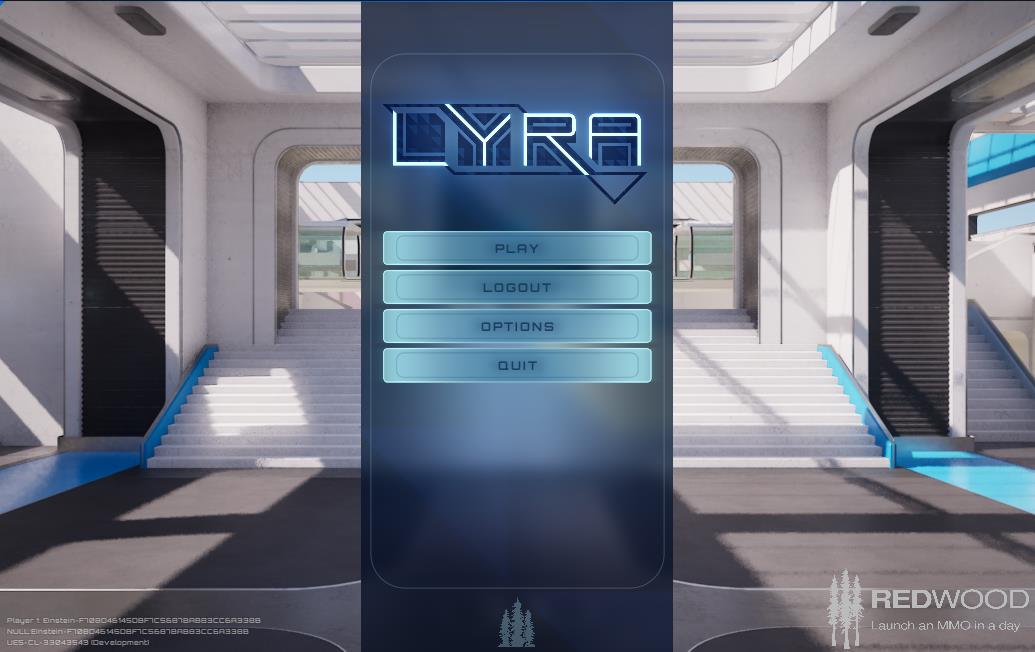
-
Select
PLAY; from here, you can either selectMATCHMAKINGorSTART LOBBYto create a match. TheJOIN LOBBYbutton will show a list of existing public lobbies.noteIt may take awhile for the server to load the first time. You may get a timeout and need to try again. If your ticket keeps going stale, you can increase the
ticket-stale-time-msvariable you set earlier and restart the Dev Initiator.infoServer initialization is shorter in a packaged/cooked game. When running with the
localgame server provider, you're using uncooked content throughUnrealEditor.exe. Using theagonesgame server provider will have the shortest initialization time due always having a warm server already started waiting to get the match details. Hathora's startup time is also quite fast, with their Enterprise tier having the best performance.
It's time to start the game, connect to the backend, start the overworld servers, and join!
-
Install NodeJS/Yarn if you haven't yet
infoWe need this extra dependency for persistent-server games since the server isn't started when matchmaking finds a match. Persistent games are assumed to already be started, so we need to use a provided tool to create and start that server before we try to join.
-
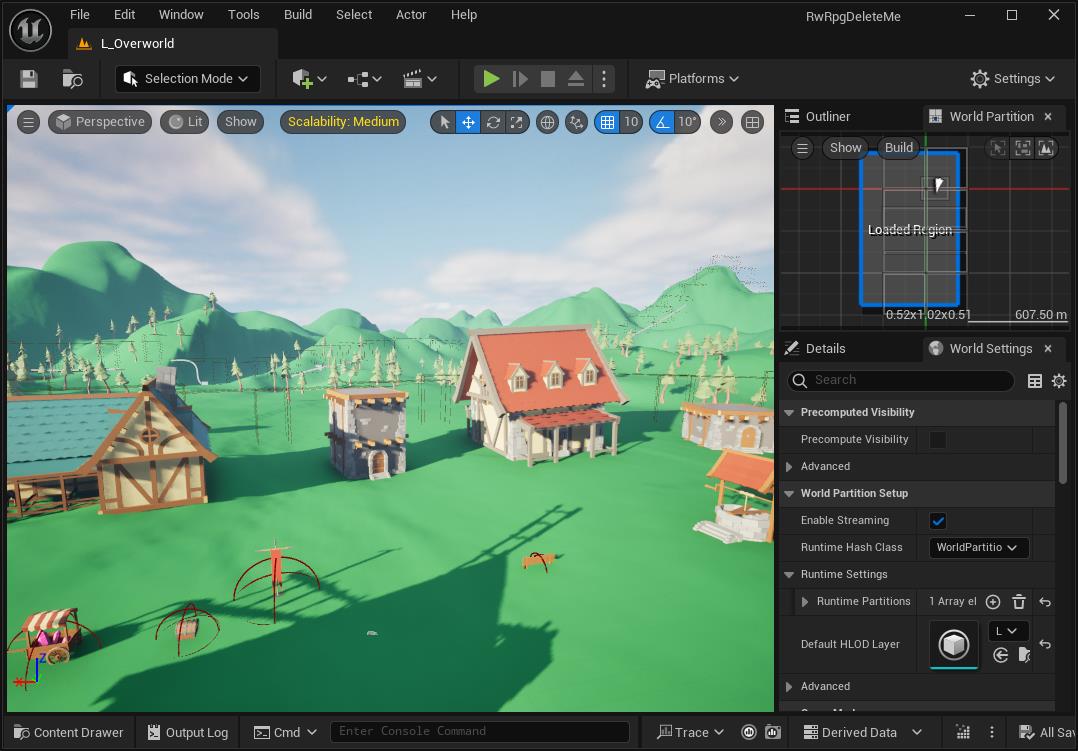
Once the project is created and shaders are compiled, you will see the default L_Overworld level selected:
-
Open the Content Browser and open the level
/Content/Maps/L_Title: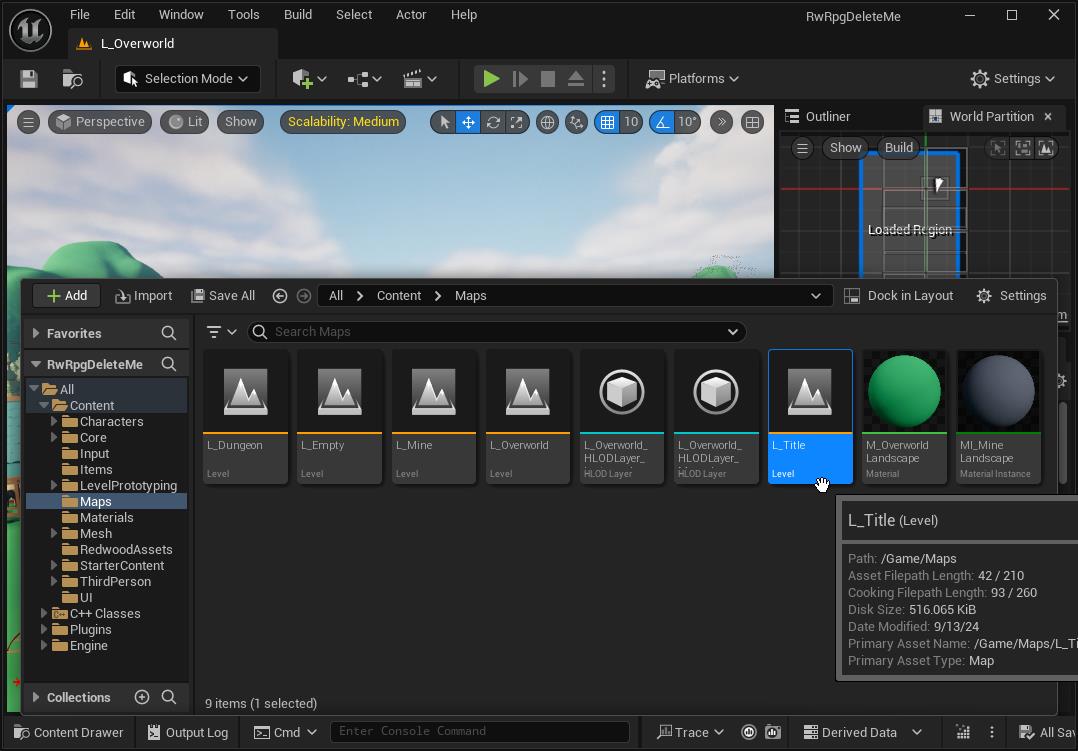
-
Make sure you've selected
Play Standaloneunder the PIE Net Mode (it's the default) and are still in theL_Titlelevel: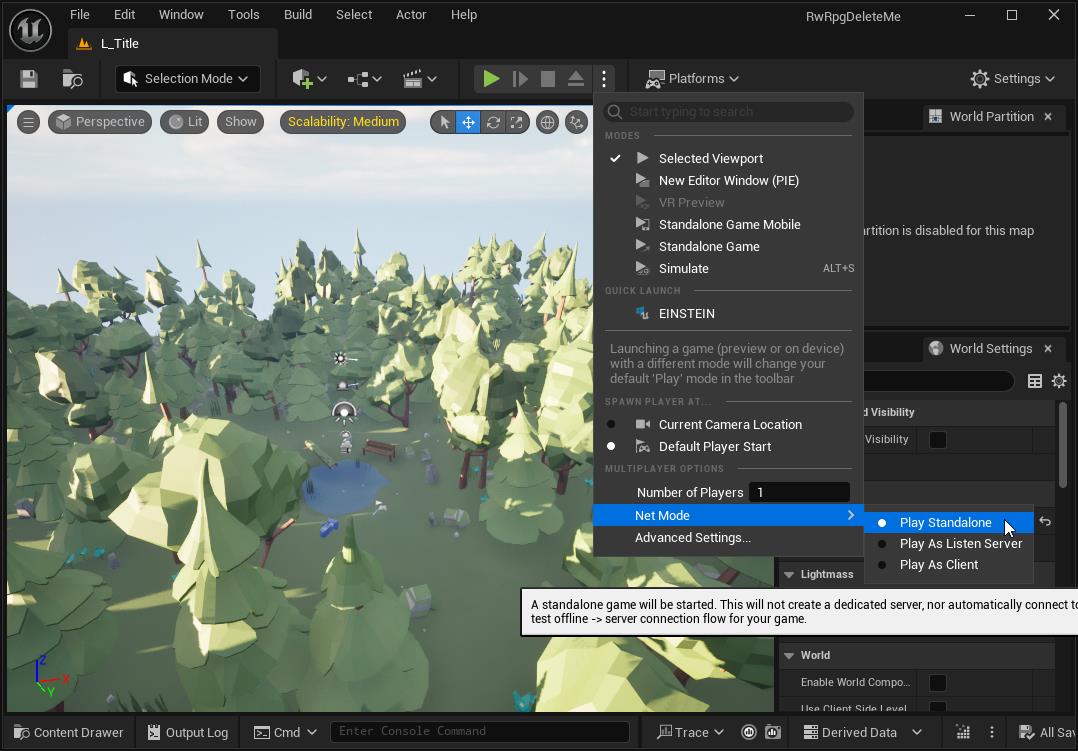
-
Press the green play button:
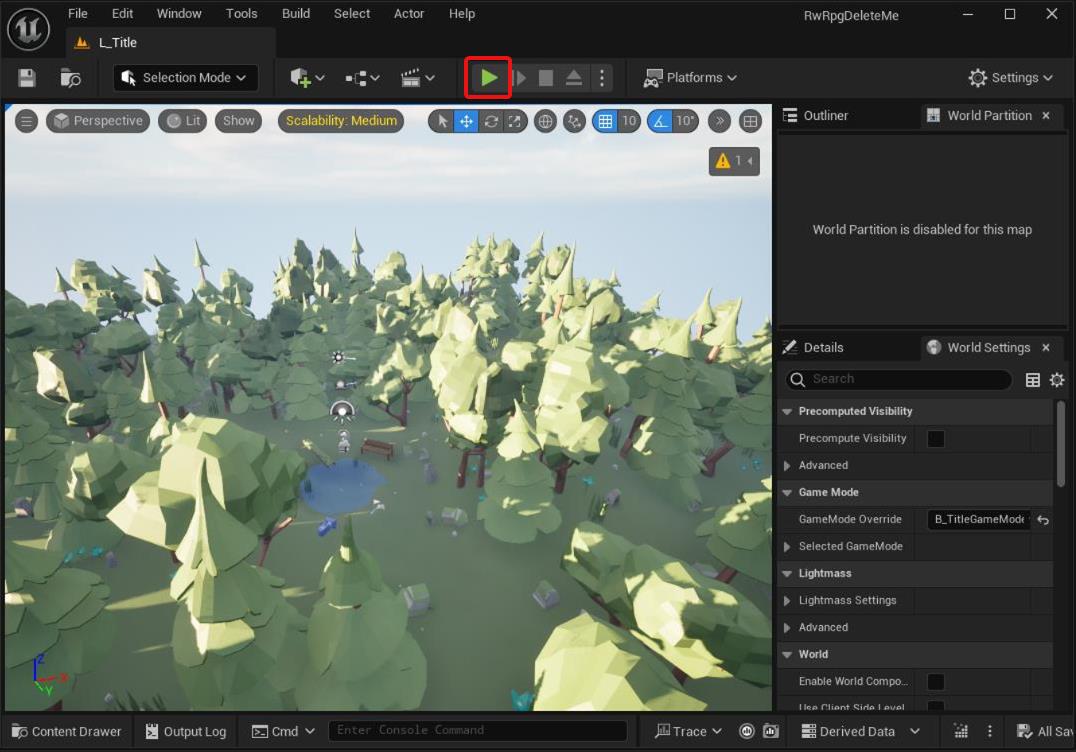
-
You should see the frontend widget with the
REGISTER/LOGINbuttons enabled: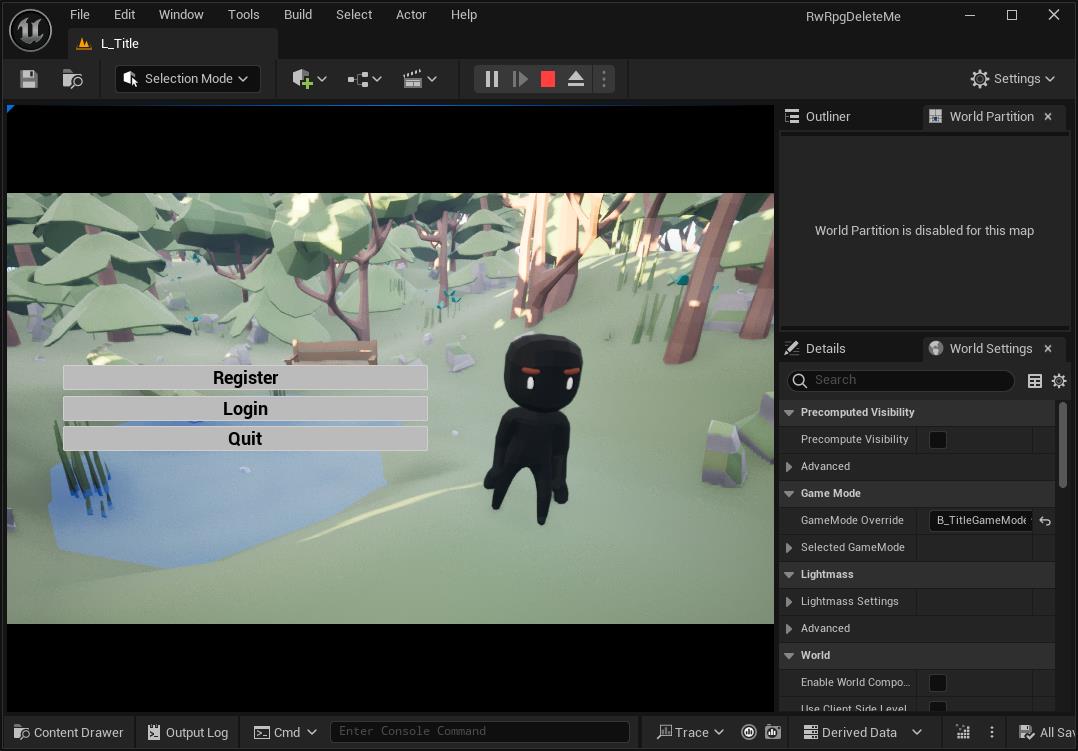 warning
If you see these buttons greyed out/disabled and a label saying
Connecting to backend..., there are some a few common issues:- You have another application bound to the port
3001 - You did not configure your
hostsfile properly to includedirector.localhost - You started PIE before the Dev Initiator hasn't finished initializing. The connection retry logic will get exponentially slower after each retry, so you may need to restart PIE
- You have another application bound to the port
-
Register to create an account; any username/password works here. We use
testandtestfor quick iteration. -
Login using the same username/password.
warningIf you were able to register but the login process seems to hang for more than 5 seconds, you're likely having issues connecting to the Realm Frontend service. The common issues for that are similar:
- You have another application bound to the port
3011 - You did not configure your
hostsfile properly to includerealm-default.localhost
- You have another application bound to the port
-
You should be able to see a dropdown and be able to create a character:
-
Before you can join the server, we need to create it:
-
Open a terminal to the
RedwoodBackenddirectory -
Start a GameServerProxy using the preconfigured
overworldgame profile (changing the env arg to your config environment name):yarn cli create-proxy overworld overworld --env project-name --start-on-boot --proxy-ends --publicnoteThe
--start-on-bootflag will not only start this proxy when the backend boots up (and it hasn't ended), it will also start it immediately. Only admin users can specify this flag.The
--proxy-endsflag will end the GameServerProxy when the backing GameServerCollection ends. You typically wouldn't set this for production realms/worlds as you'd want to keep them around perpetually even if the servers stop temporarily (i.e. during a game server upgrade). However, often times in development, it may be beneficial to start with a clean slate world each time we restart it, hence specifying it here.Starting this up will automatically run a shard/server for each of the zones (5 for this template). This involves running the UnrealEditor.exe for each shard, which can consume a bit of RAM (~1.2GB for each shard).
-
-
Once the terminal says
Proxy created successfullyyou can press theJoinbutton in Unreal to queue for the proxy/world and be admitted: -
The backend is using uncooked data from the Unreal assets for the servers running, so you can't modify any of the Unreal assets while the servers are still running. You can stop the GameServerProxy's backing GameServerCollection (aka each of the shard servers for the world) by running the below command in the
RedwoodBackendterminal you had open before:yarn cli stop-proxy --env project-name <the-proxy-id-returned-from-the-start-proxy-command>For example, if your
start-proxycommand returned:[05:47:18.119] INFO (70364): Proxy created successfully: cm1ol7o270001xhxi5z3d7fw2then you would run:
yarn cli stop-proxy --env project-name cm1ol7o270001xhxi5z3d7fw2
-
In the Unreal project you created earlier, open the
/Content/Maps/L_Titlemap. -
Change the Net Mode in the play settings to Play Standalone
-
Optionally change the number of players to whatever you'd like. Below we'll just show the steps for a single player, but you can repeat them to get multiple players in the same match.
-
Click the Play button
-
You should now see the Register, Login, and Quit buttons:
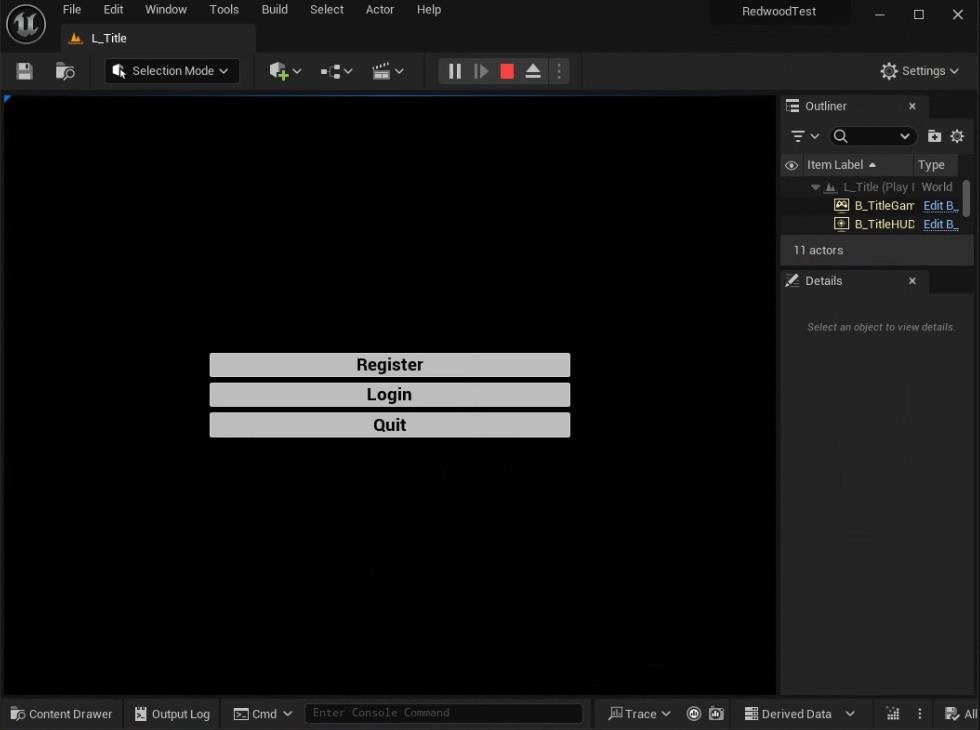
If you're stuck seeing the Connecting to the director... screen, make sure you've launched the
dev-initiator.exeprogram, there are no errors, and double check any firewall/security prompts that may be preventing it from connecting.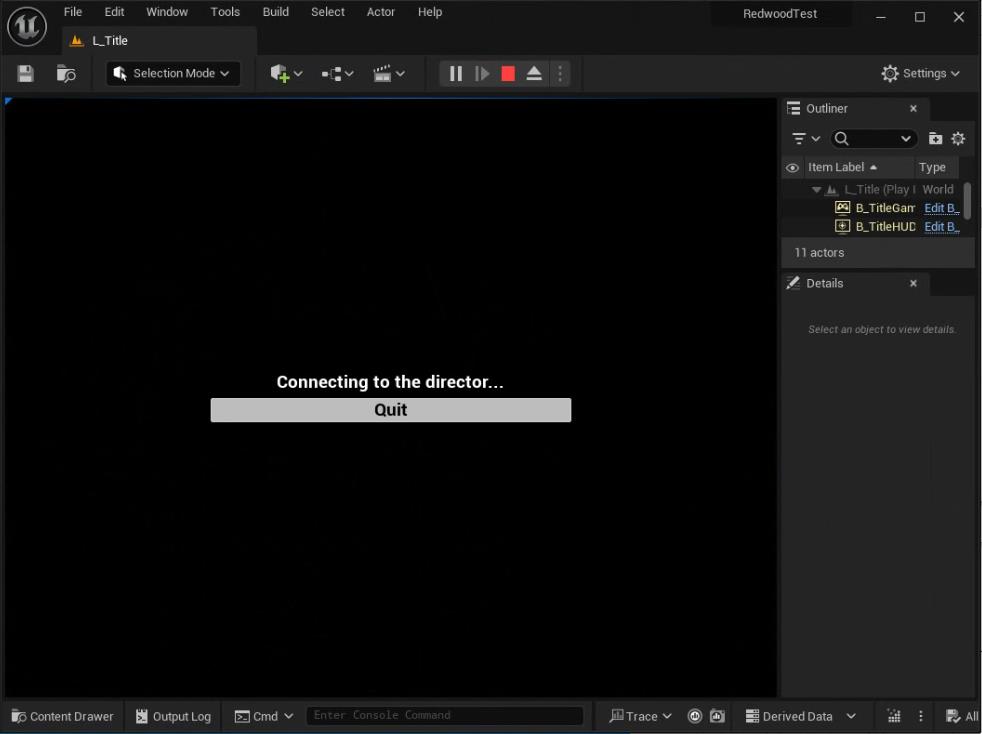 note
noteIf you're still having trouble connecting, make sure you don't have other applications using conflicting ports. The Redwood backend by default runs on ports
3000and3001. These config variables can be changed by adding them overriding your director and realm instance configs. Seeconfig/node/default/director.yamlandconfig/node/default/realm/instances/redwoodBase.yamlunderbackendand `frontend sections for reference.
You would also need to change the port in the **Director Address** variable in the **Class Defaults** section of the **B_TitlePlayerController** blueprint in `/Content/GameFramework` using the `director.connection.frontend.port` config variable you specified above. -
Click the Register button and enter a username and password. If that's successful, you'll be automatically logged in and see the character selection screen. Press the
+button to create a new character: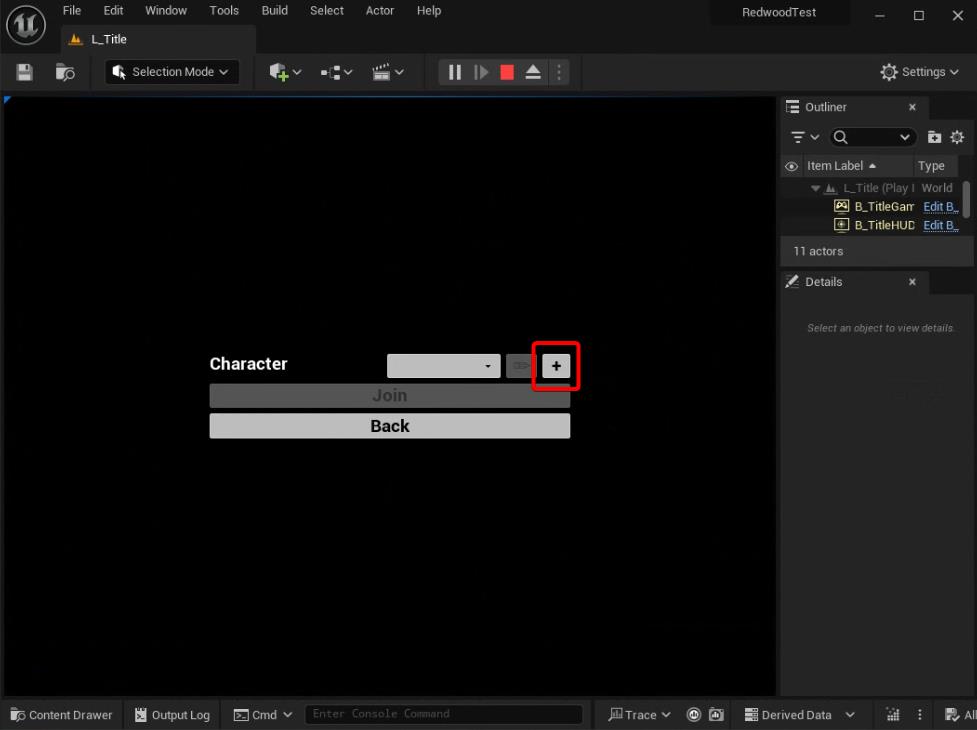
-
Enter a character name and click Create. You'll be taken back to the character selection screen. You should see your new character in the drop down menu:
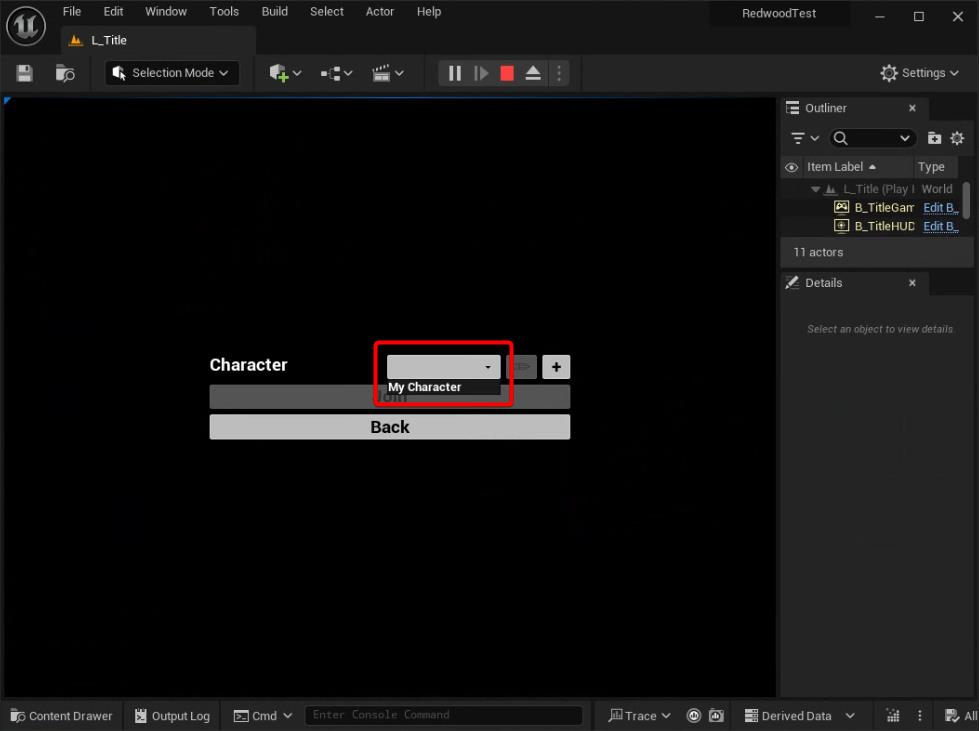
-
After selecting your character, click the Join button to join the matchmaking queue:
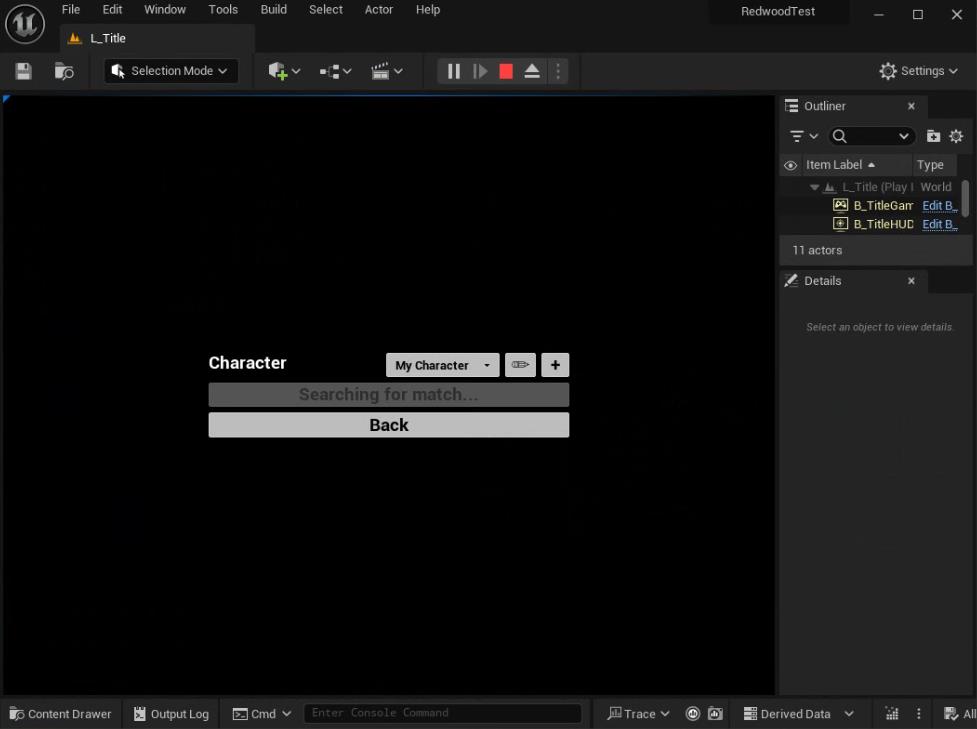
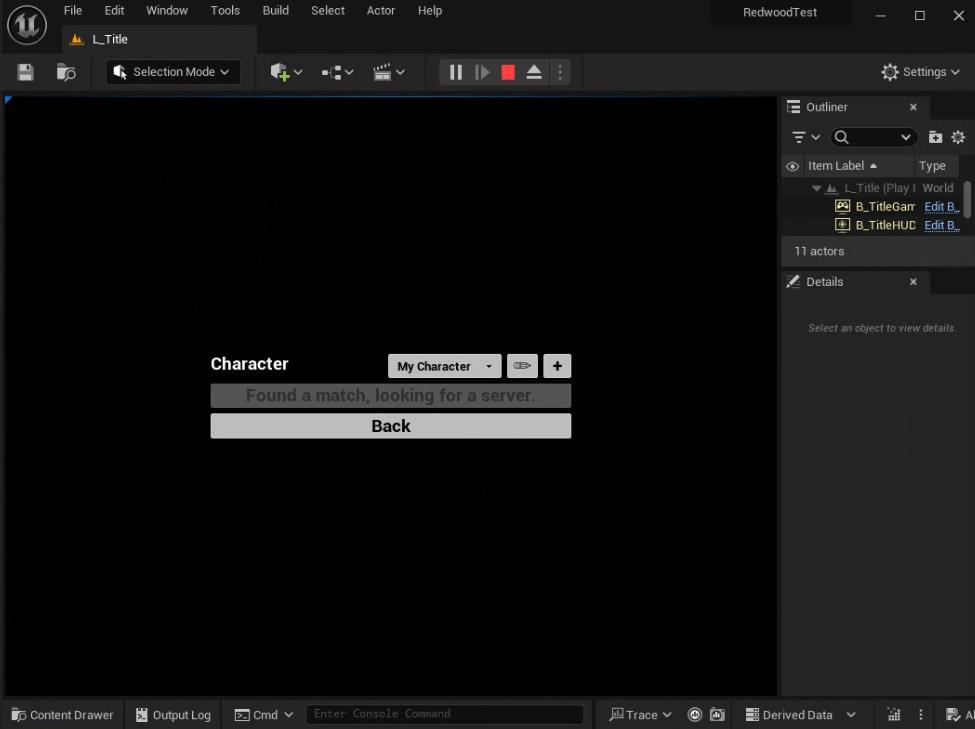
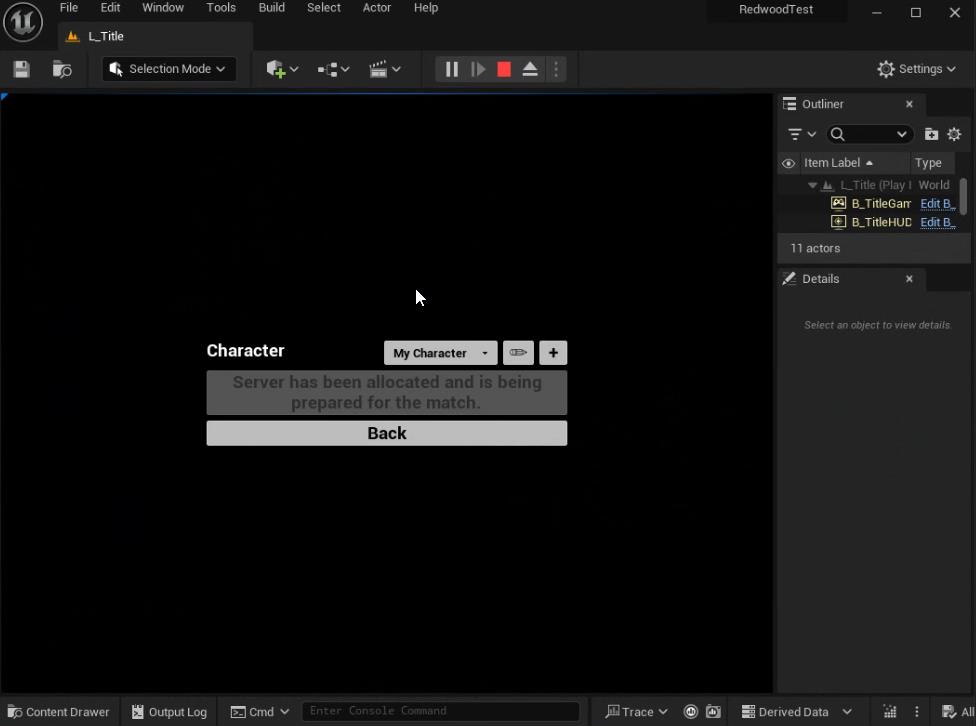
-
If you're seeing the below error, you didn't correctly configure the backend to point to your project:
-
If everything was configured properly, any clients that signed up before should be put into a match. The Blank template has a simple match where players can move around as a floating cube with WASD and the mouse.
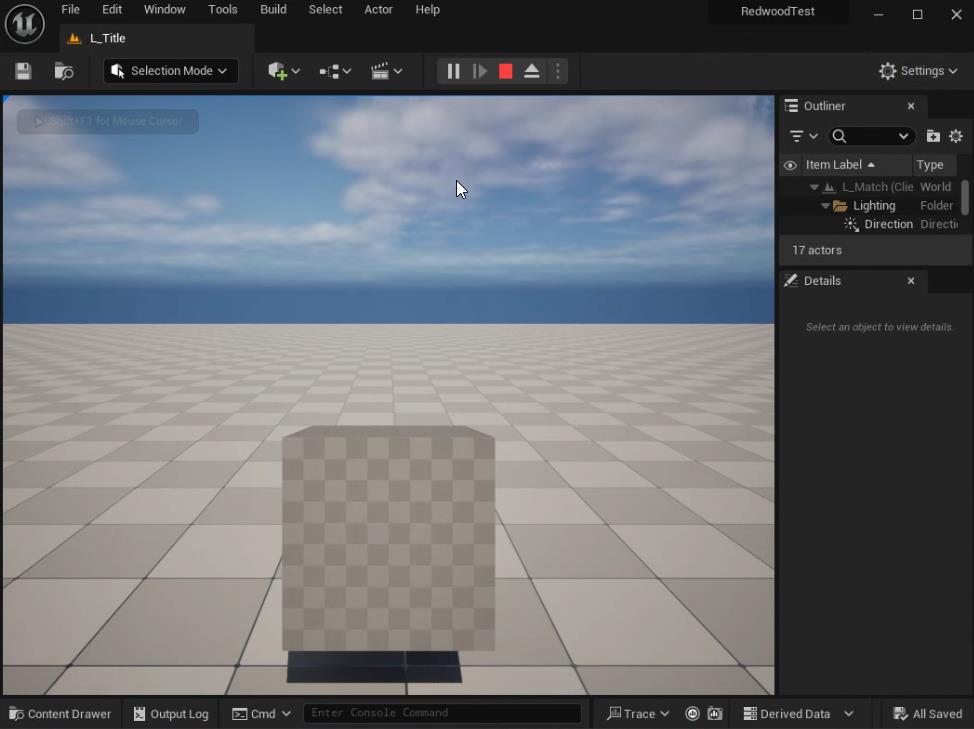
That's it! You're using Redwood to start your servers and route clients into those servers via matchmaking or queueing! Let's learn how to run things without the backend running for faster development iterations.